
The Ancient Chinese called it ‘The Immortal Health Elixir’, early 20th century Russians called it ‘Tea Kvass’ and claimed it was an anti-cancer tonic, and we in the west now know it as Kombucha - a particularly good source of probiotics that our guts desperately need. Official research has been limited until recently but much research has been done on many of the nutrients and acids it contains in large quantities; B vitamins, antioxidants and glucaric acid. Regardless of the lack of scientific research, the fact remains that it has been part of a staple diet in some cultures for 2,000 years – and is still as popular today!
Some of the benefits include;
- Detoxification
- Joint care
- Aids digestion and gut health
- Immune boosting
Equipment
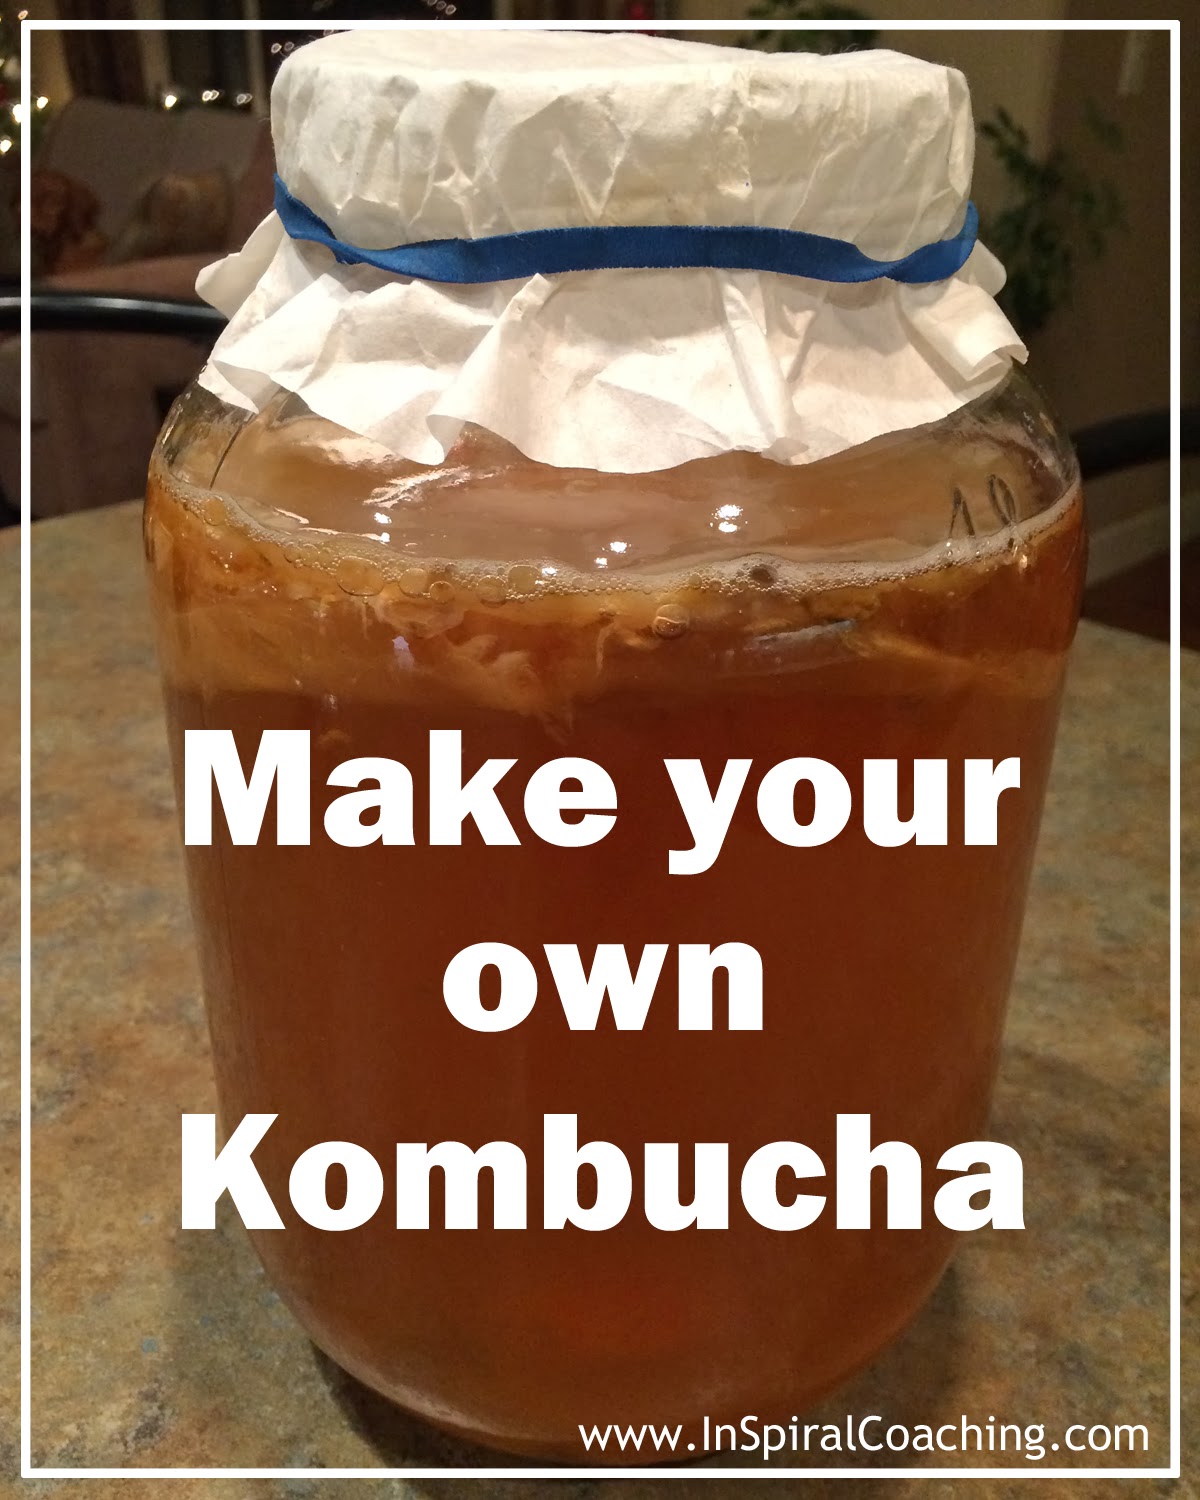
- 4L Glass Jar
- Paper Coffee Filter & Elastic Band
- Sieve
- Drink sized glass bottles (for the finished product!)
- Kombucha Scoby
- 1 Cup Kombucha starter liquid (this can either be store-bought Kombucha or a little of the leftover liquid from a previous batch)
- 1 Cup Organic Cane Sugar
- 4 Tea Bags (I usually use 2 Black & 2 Green Teabags)
- 3.5L Distilled water (I used boiled water - always make sure its cooled to room temperature)
- Make your sweet tea solution - I put my teabags in a large glass jug, then pour boiling water from the kettle over them and let steep. Whilst the water is still hot I also add my sugar so it can dissolve into the tea. Let sit for several hours to cool & steep - I usually leave overnight
- Put your Kombucha Scoby and the Starter liquid into the 4L Glass Jar
- Add the sweet tea solution (the Scoby may or may not float - it doesn't matter!)
- Fill with distilled water (leave about 2-3 inches from the top of the jar)
- Cover with a paper coffee filter and hold tight with an elastic band so it can breathe but the bugs can't get to it
- Let it sit at room temperature on the counter-top or in a cupboard, away from direct sunlight. If it's too cold it will stall the fermentation process.
- After 7 days check on it - stick a straw in the liquid and taste it. The finished Kombucha should not be overly sweet and you should not be able to taste too much of the tea. If it's still too sweet leave for a few more days. Depending on how warm your room is the fermentation process could be as little as 7 days or up to 14 days.
- When it IS ready; Pour your Kombucha through a sieve into your drinks bottles (using a funnel may be helpful here - I usually just pour it into one giant jug with a spout and then decant into my drinks bottles from there - a funnel would just save you that extra step!) - leave at least an inch air space at the top of each bottle
- Make sure to reserve 1 Cup of your Kombucha as your starter liquid for your next batch!


You can totally drink your Kombucha at this point, but continue reading if you want a little something extra!!

- Add some fruit, spices or fruit juices to flavour your Kombucha (Fresh or Dried Fruit is awesome) and seal the bottles, and leave at room temperature for at least 48 hours
- The sugars in the fruit will slowly continue your fermentation process and add to the carbonation of your drink
- After a couple of days your Kombucha will be ready to drink - all nicely flavoured and lightly carbonated (sometimes more than others so be careful when opening those drinks bottles!)
Your Scoby will grow with each fermentation. Using clean hands pull it out the jar and rinse with clean water. You can easily pull it apart - share the Kombucha Scoby love and give it to your friends or people you meet in the supermarket at the Kombucha Fridge whilst lamenting the cost of store-bought Kombuchas. If you have no friends(!) then you can compost the spare Scoby. I usually trim the strange straggly bits and tidy up my Scoby then pop it back into the 4L jar ready to start another round.
Learn more about the health benefits of this amazing ‘superfood’ here, here and here
Visiting from the Pin It Party!
ReplyDeleteI am sooo chicken to do this. I think if I made it myself I would be afraid to drink it ;)
Try it, what have you got to lose? And hey - you may love it :-)
Delete